Oh, the sweet irony of living in a town that ships Christmas trees all over the nation (seriously, they helicopter them out by the bunch), yet I don’t have room for one in my house.
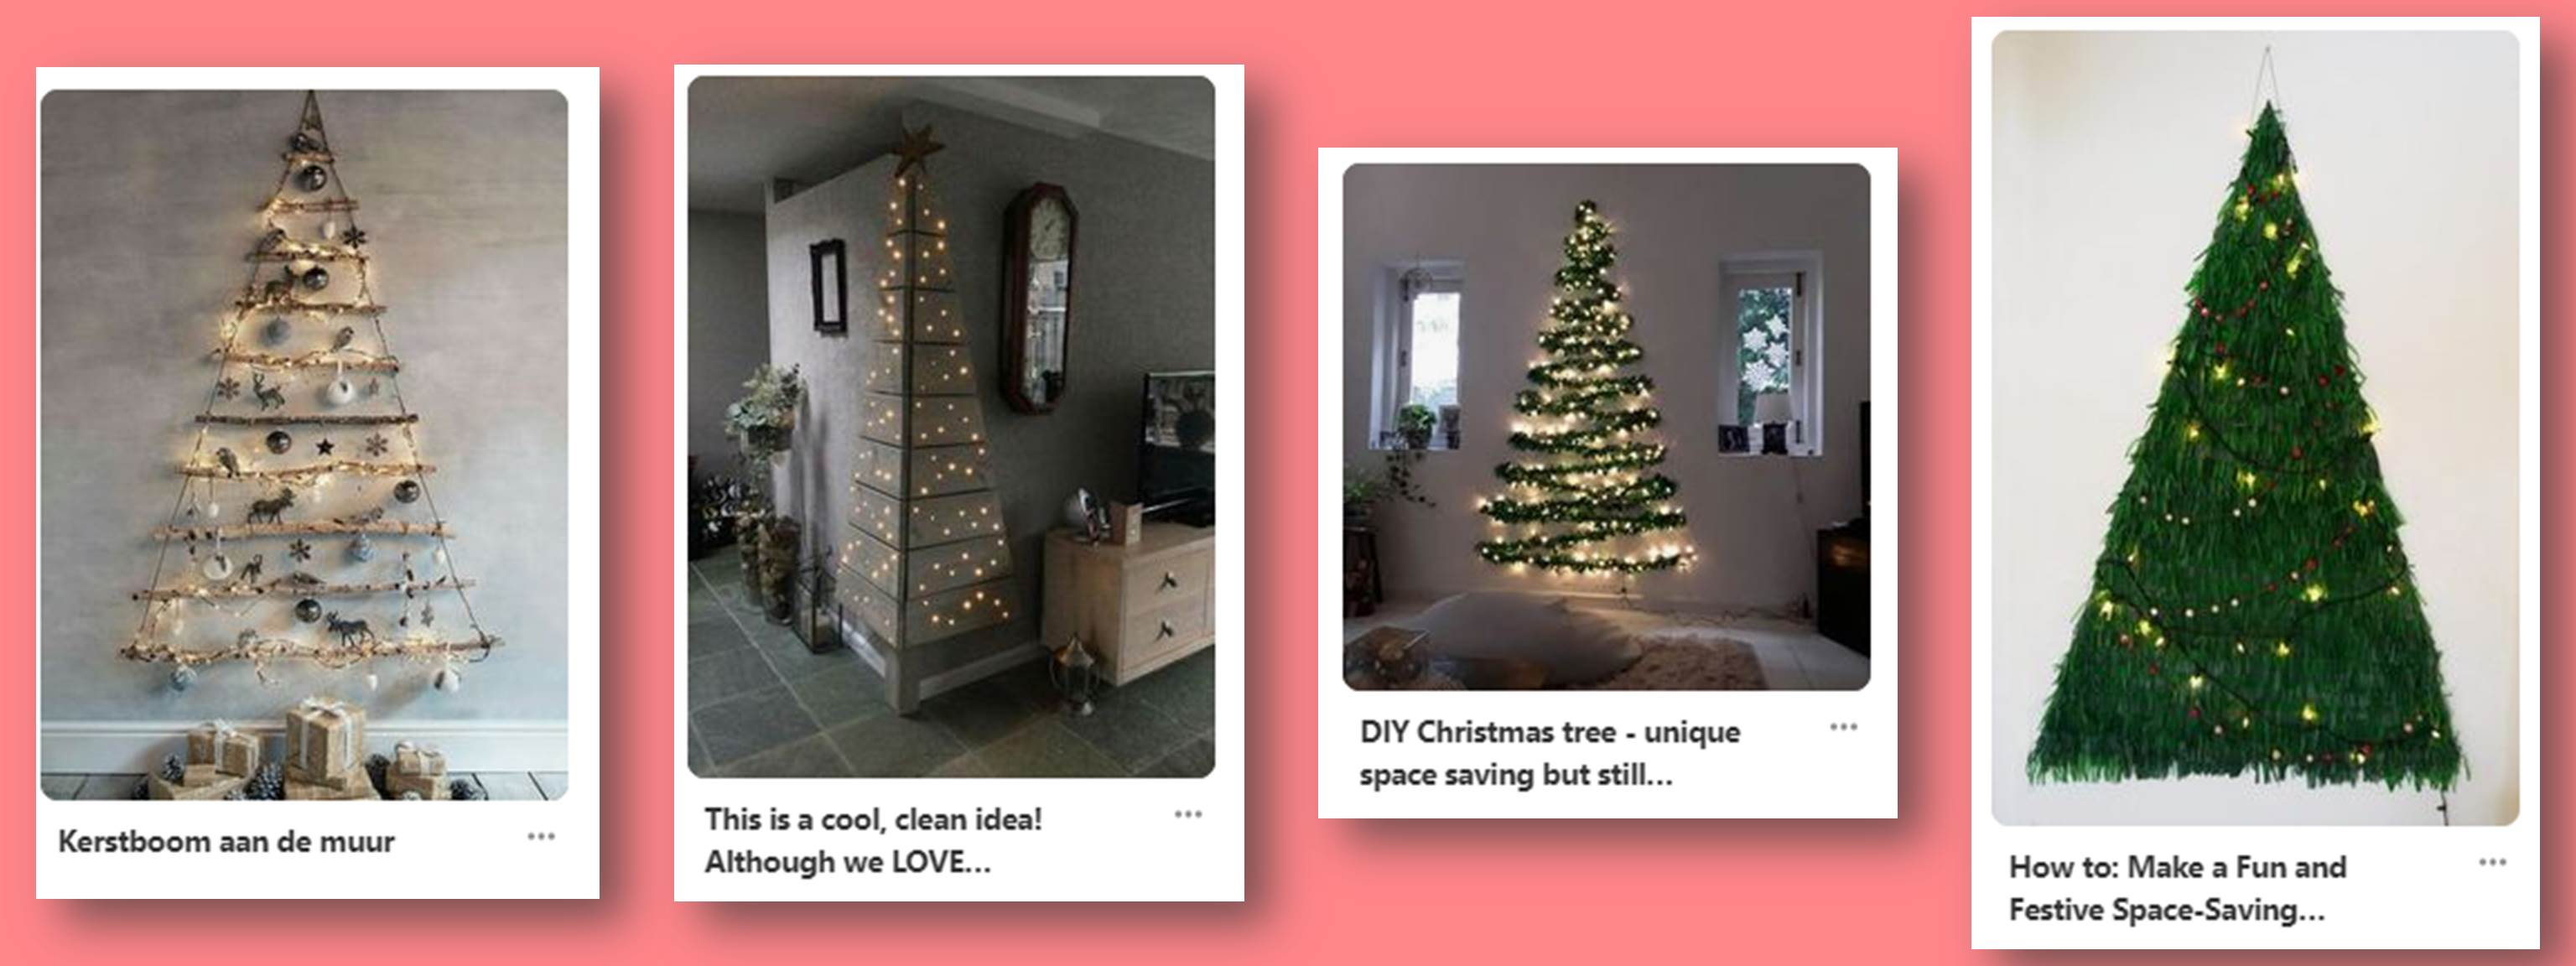
A few years ago, after seeing a few ideas of DIY space-saving Christmas trees on Pinterest, I was inspired to make my own (or should I say I was inspired to enlist my dad to carry out my vision?).
Supplies Needed:
- 4×8 plywood
- Hot glue and a hot glue gun
- Tree colored garland (I think I used 2 packages of this)
- Green, yellow, and brown paint
- Jigsaw
- Chalk Line
- Measuring Tape
- Pencil
- Picture hanging kit (both to attach to the back of the tree and to the wall)
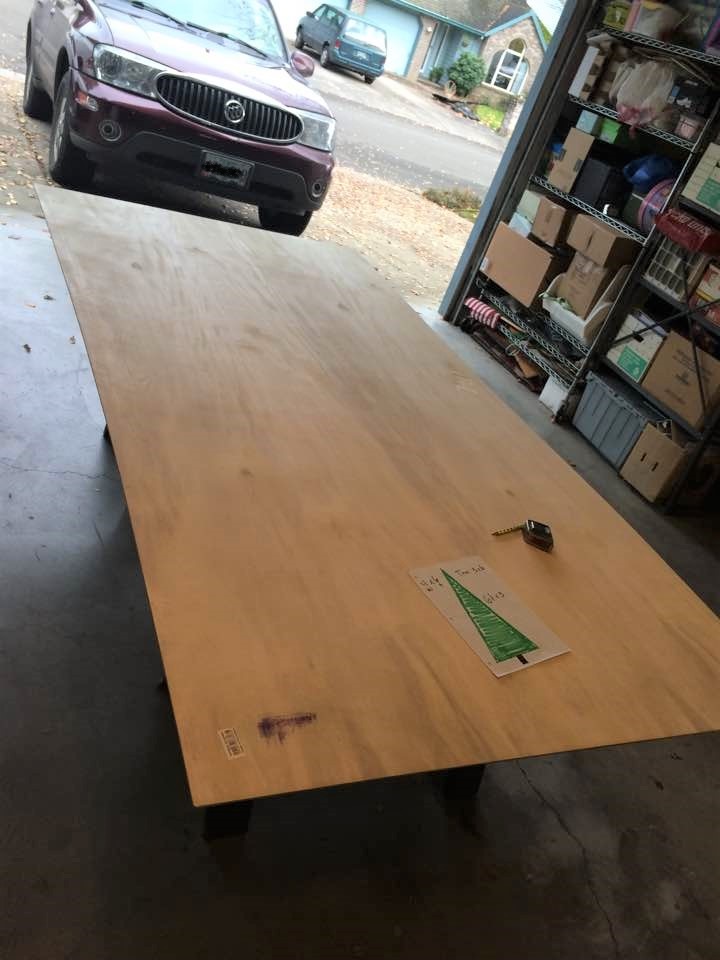
I bought a piece of 4×8 plywood from HomeDepot or Lowes. I think it was around $13. Again, it was several years ago so some of the details are a bit foggy. I also got two packages of 30foot garland that looked like pine needles. It was super cheap, around $10 for both packages. I already had all of the other supplies.
Here’s a copy of the original plan I had for my dad:
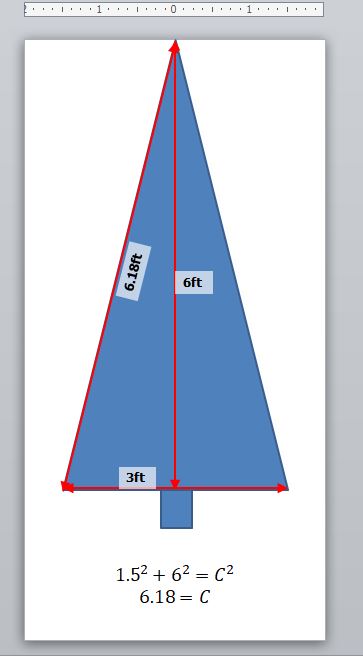
Originally, I had planned that I wanted the tree to be 6 feet tall and 3 feet wide, with a 6-inch stump at the bottom.
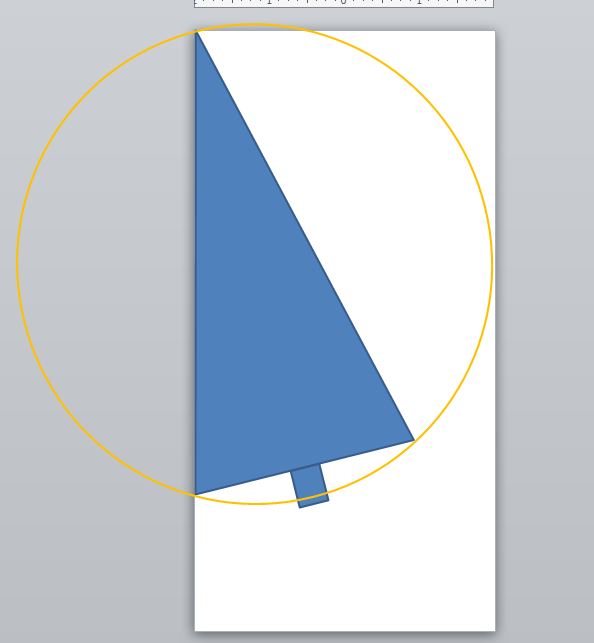
My dad had other plans, though. He said that we could reduce the amount of cutting we had to do if we rearranged where we put the tree on the plywood board. This is how he suggested positioning it:
To simplify things even further, we decided to make the side length of the tree 6 feet, instead of the original 6.18ft. This slightly reduced the height of the tree, but it made for easier measurements. The original side lengths and heights can be compared using the Pythagorean theorem, or trig if you wanted to!
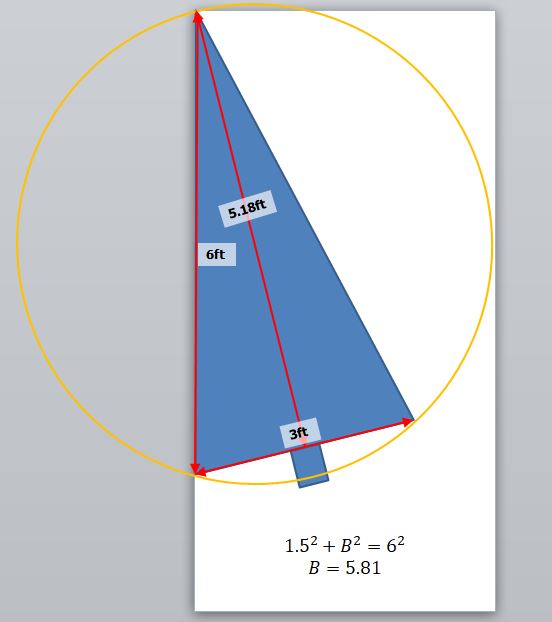
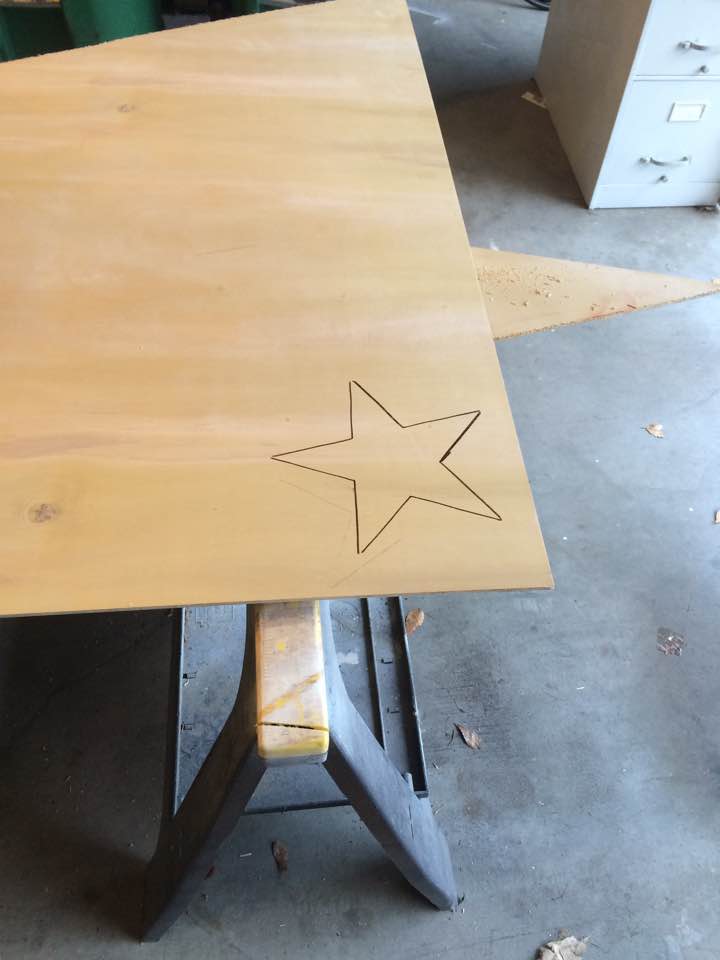
Once my dad marked off the 6ft line on the left edge of the plywood board, he used his measuring tape to swing an arc around the cutting board, hinging from the upper left corner. Could your students figure out what the radius/diameter of this circle would be? Hint: it’s not 6 feet!
Once he drew the arc, we measured 3 feet across from the 6ft mark on the left edge. At this point, he brought out a chalked line (something I’ve never seen before!). He had me hold it from the upper left corner, and he pulled it to the 3-foot mark along the arc he just made. Once he had it taught, he pulled the string up a bit and then it snapped down on the plywood leaving a very visible, straight chalk line (burnt orange in color).
We then measured off 1.5 on the bottom of the tree, and then made another chalk line from the upper left corner down through the middle of the tree, continuing down a few inches further. Geometry vocabulary that applies: bisection!
We then were able to measure off the stump of the tree. I think I made it 3×6″ or 4×6″.
I used Microsoft Word to make a big star. I printed it, cut it out, then traced it on the plywood.
At this point, it’s time to cut out the tree and the star!

The next thing I did was paint the tree. I happened to have a bunch of dark green spray paint left over from an old project, so I spray painted the tree. For the stump and the star, I used some old Crayola paint that my parents have had since I was a kid (seriously, they’ve had that paint since I was 7 or 8). It worked like a dream!
After the paint is dry, I started to hot-glue down the garland to the tree, in a zig-zag pattern. This is the part that took the longest, by far. It was very useful to have a second person for this.
After all that was done, I hot glued down a picture hanger to the back, and hot glued on the star to the front.


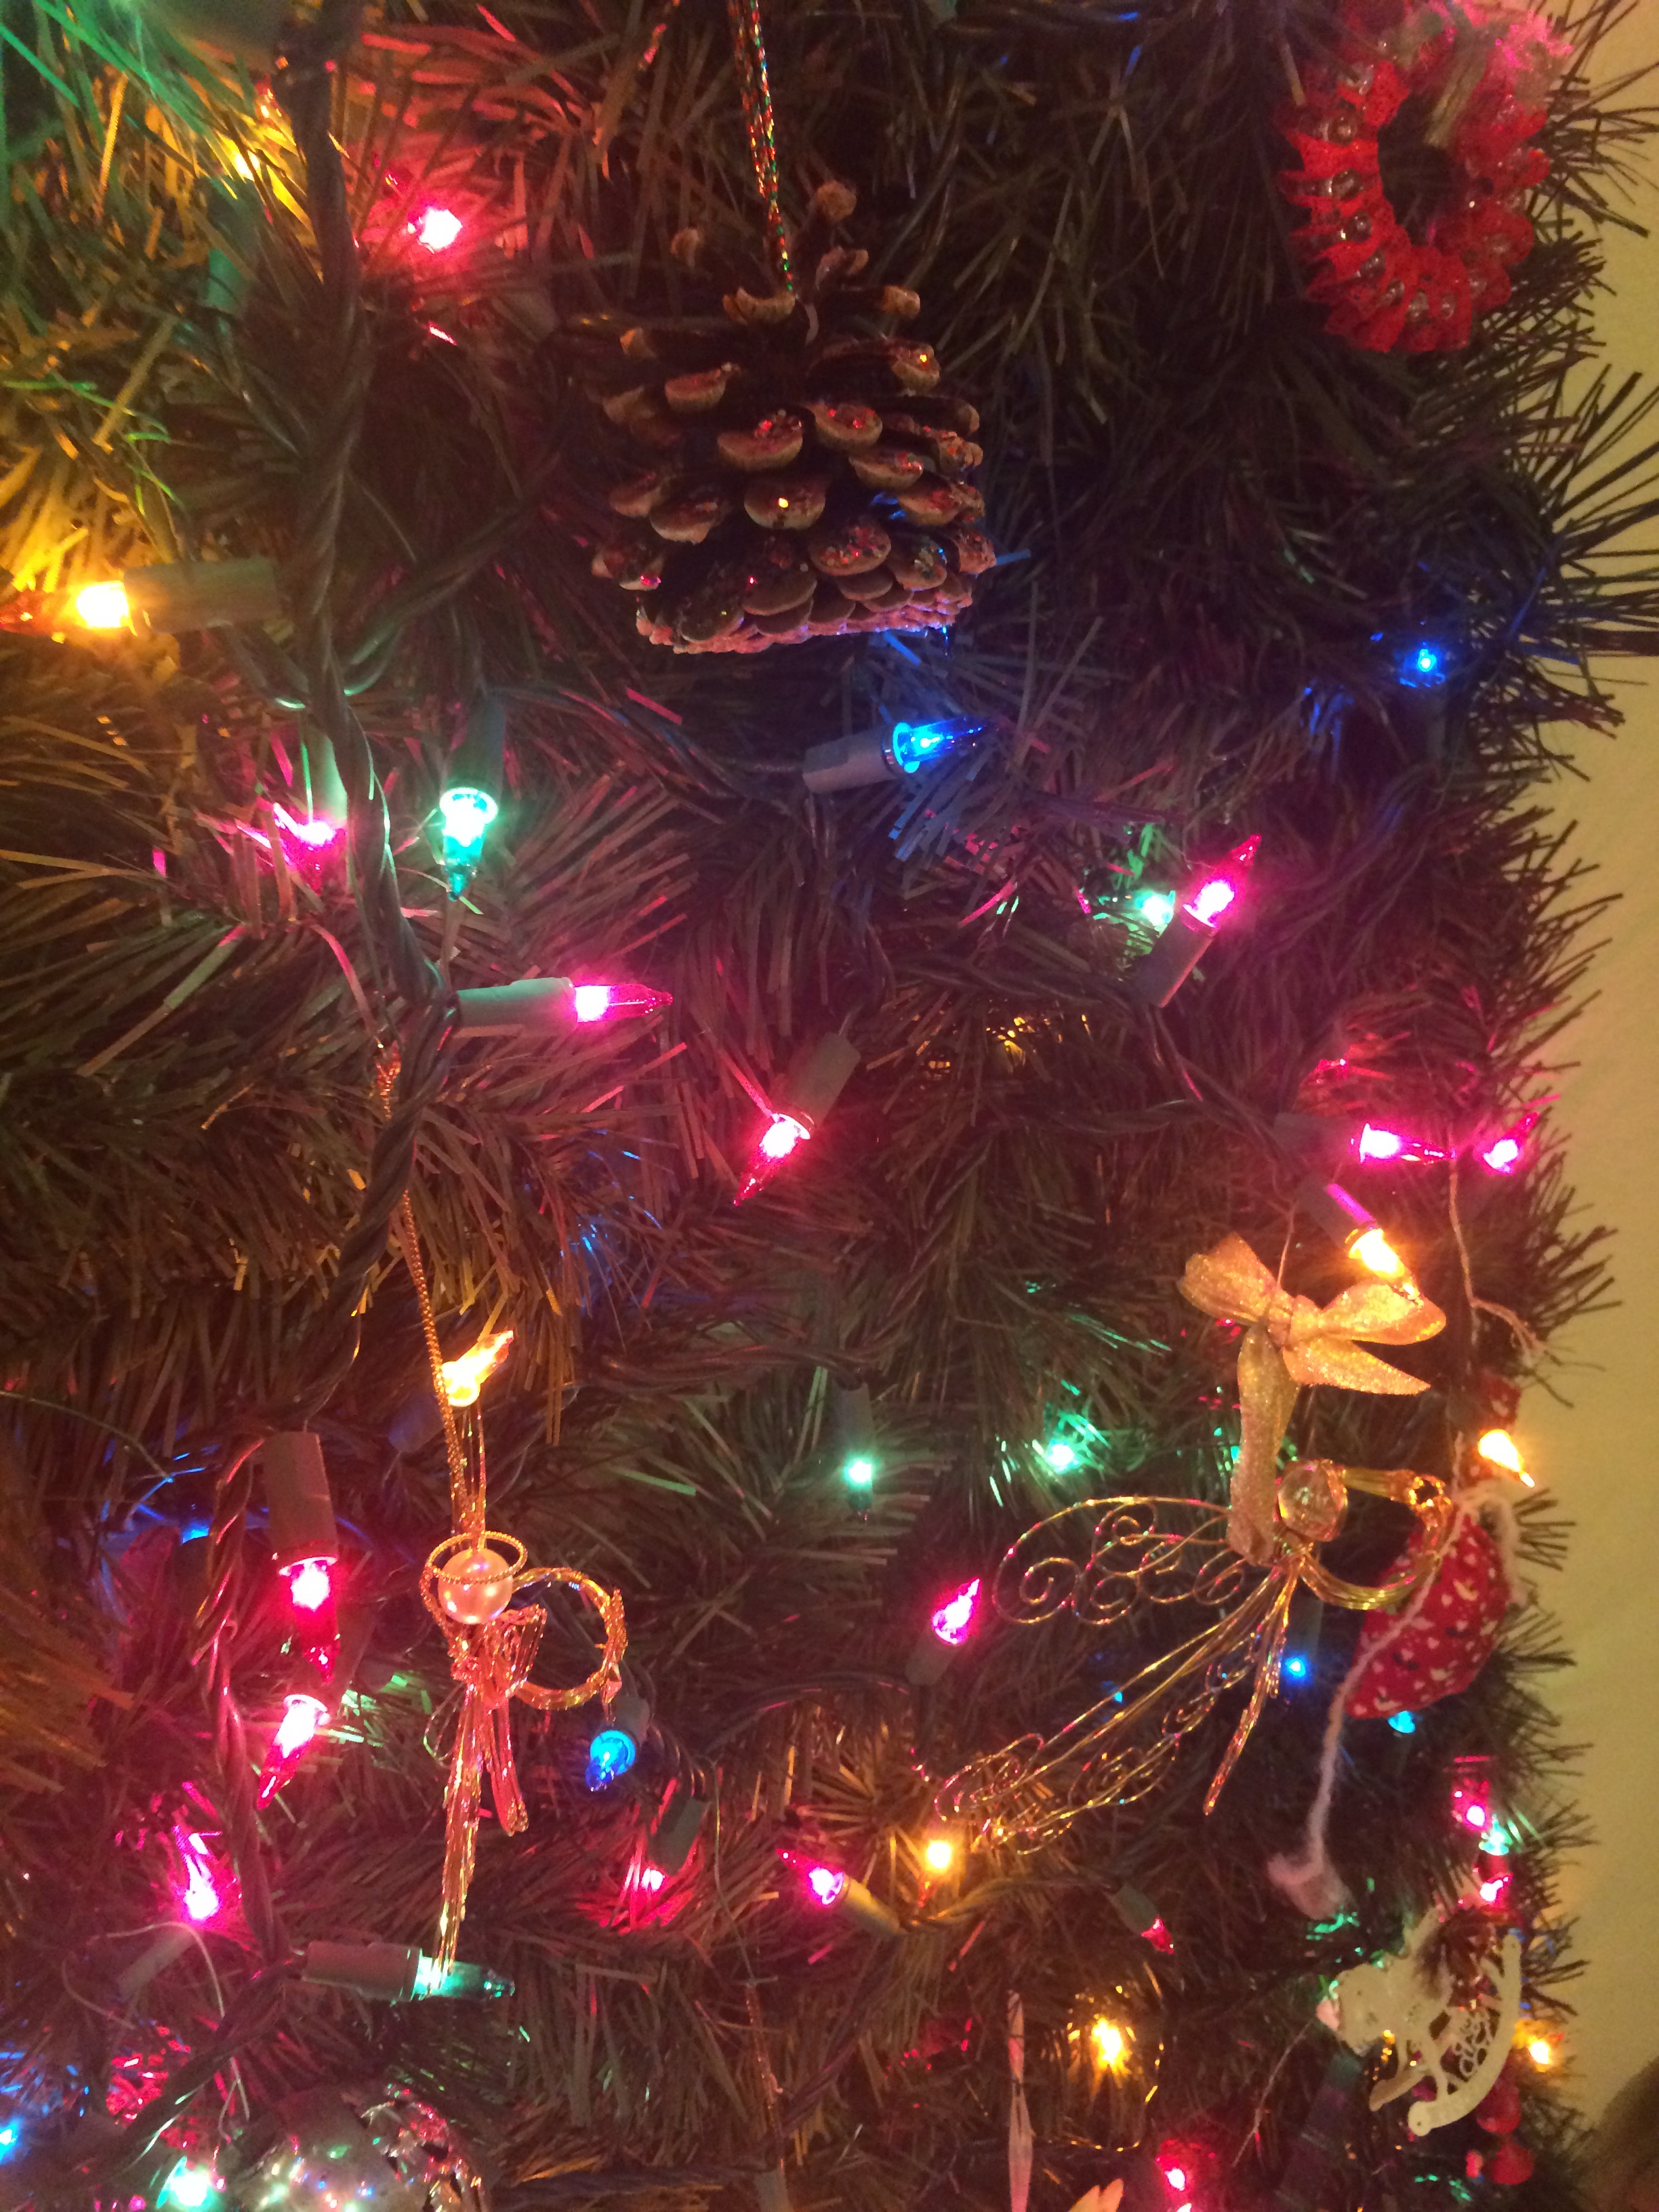
Using just regular ornament hangers, I attached two strings of LED lights and some ornaments.
Here’s the finished project:

Also, right next to the tree I have a wax warmer going with a fir tree scent. It really brings the whole package together.
All in all, I think I spent about $25 on supplies. I love how it looks (it really does look beautiful!), and it’s super easy to store when it’s not in season–I just hang it up in my garage.
I hope you enjoyed reading about how math unexpectedly showed up in my real-world DIY Christmas tree project.
-Audrey
